Last Updated: 1 year ago
Cats are known for their cleanliness, but even they need a little help from time to time.
Learning how to clean a cat’s ears is an important part of maintaining its overall health and hygiene.
Not only does it keep them looking and feeling their best, but it can also help prevent ear infections and other issues that can arise if the ears are not properly cared for.
Tools You’ll Need For Cleaning Cat Ears
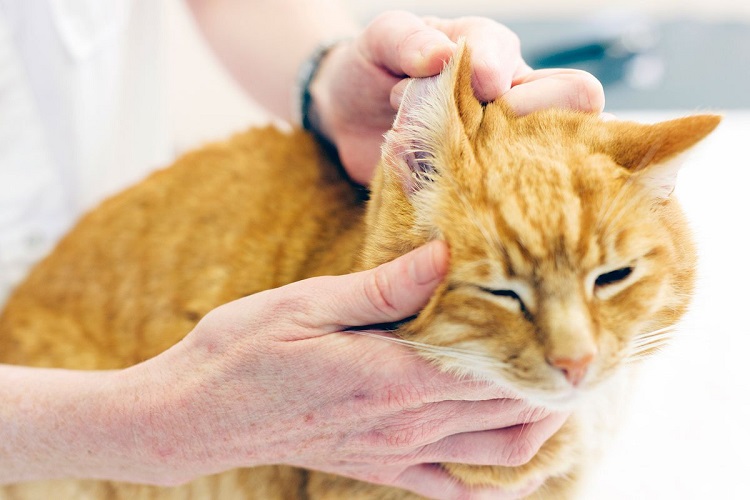
Cleaning cat ears can help prevent ear infections and keep them feeling comfortable.
But it’s important to do it correctly, so you’ll need the right tools for the job!
Soft Cloth or Cotton Ball Swabs
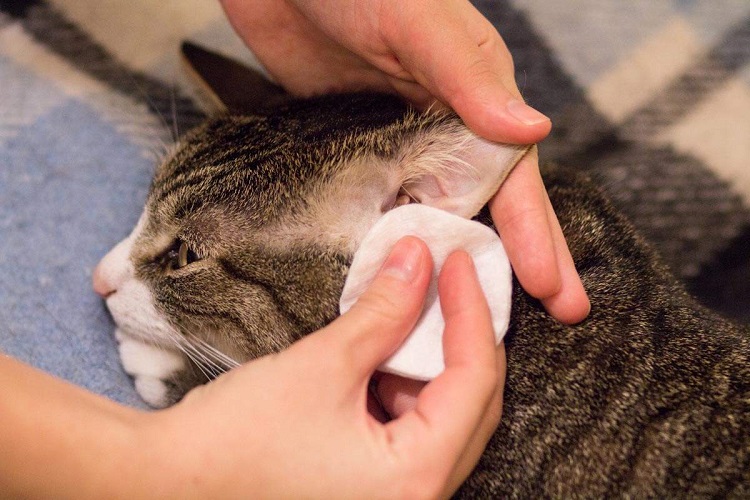
The first tool you’ll need is a soft cloth or cotton ball swabs. You should never use anything sharp or abrasive when cleaning your cat’s ears as this could cause injury or irritation.
The cloth will be used to gently wipe away any dirt and debris from around the outer edges of the ear canal before using any other products on your pet’s sensitive skin.
Cat-Friendly Ear Cleaning Solution
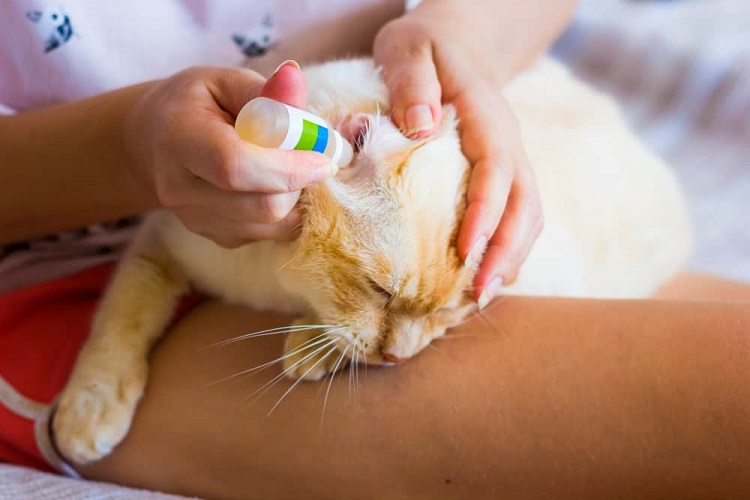
Next, you’ll want an ear-cleaning solution specifically designed for cats (never use human-grade solutions).
This type of product helps break down ear wax buildup and dissolve dirt particles in order to make removal easier during wiping with a cloth or swabbing with cotton ball swabs.
Be sure to follow instructions carefully when applying these solutions; too much can irritate your pet’s delicate skin while too little won’t provide enough cleansing power!
Towel Wrap
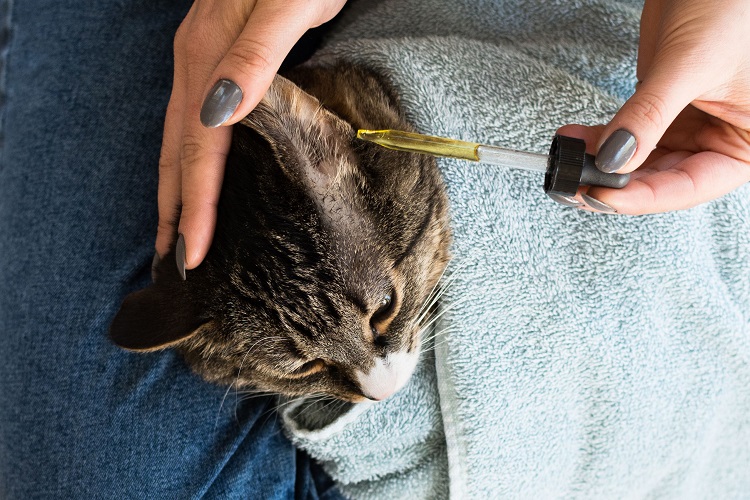
Finally, if necessary, you may want something like a towel wrap or muzzle restraint device in order to keep your kitty still while performing this task – especially if they’re not particularly fond of having their ears cleaned!
It’s best practice to have someone else hold onto your furry friend while one person cleans each ear separately; that way both parties can ensure safety throughout the process without causing distress for either party involved!
Cleaning your cat’s ears doesn’t have to be difficult – just make sure you have all the right tools at hand before beginning!
With these items in tow, plus some patience and understanding from both parties involved, you should be able to safely clean those precious peepers without issue every time!
5 Steps To Successfully Clean Your Cats Ears
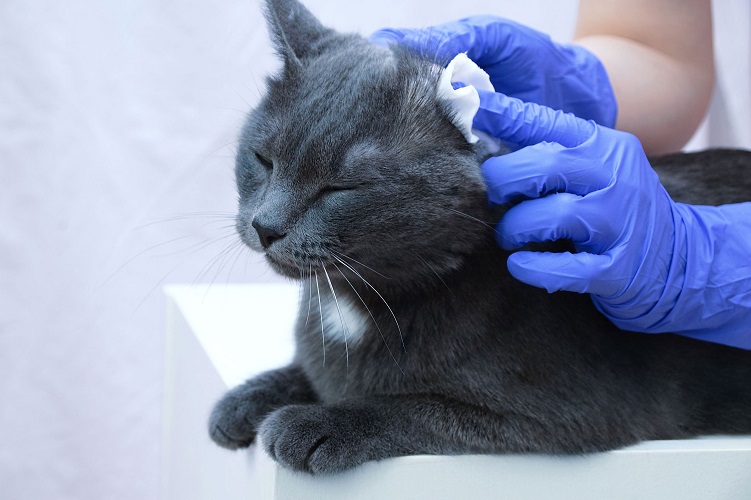
Cleaning will help prevent ear infections, which can be painful and uncomfortable for your pet.
Following the simple steps will help your feline friend stay comfortable during the process.
1. Gather Supplies
Before starting any kind of grooming process with your cat, it’s important to have all the necessary supplies ready and within reach so that everything goes smoothly.
You’ll need a cat-safe ear cleaner (available at most pet stores), cotton balls or gauze pads, and a towel.
2. Place Your Cat in Comfort
Put your kitty in a comfortable position either in your lap or on another stable surface where they feel secure and relaxed while being groomed.
If needed, you can place your cat inside a kitty burrito. Here’s how to make a cat burrito using a bath towel:
- Start with a clean towel. A bath towel works well, but any size towel will do.
- Place your cat in the center of the towel.
- Wrap the towel around your cat, making sure to tuck the ends in so they don’t escape.
- Hold your kitty burrito close to your body and start cleaning their ears.
3. Clean Their Ears
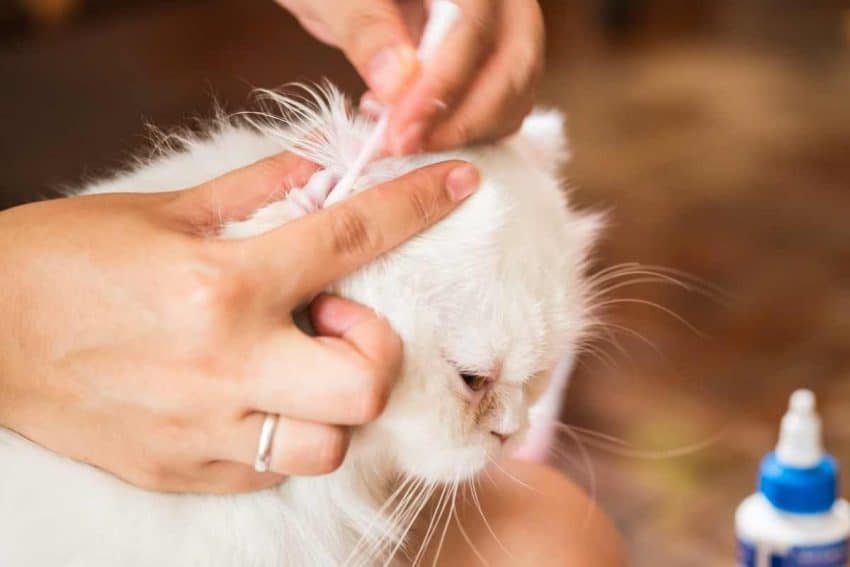
Using the ear cleaner and cotton balls or gauze pads, gently wipe away dirt from inside their ears without going too deep into their ear canal; otherwise, this could cause irritation or infection if done incorrectly!
Make sure not to press too hard when wiping down each area as well since cats have sensitive skin around their ears as humans do!
4. Wipe Away Excess Dirt
Once all visible dirt has been removed from both sides of their ear flaps using gentle pressure with the cloth, cotton ball, or gauze pad combination, take one last look over each side.
Be sure there is no excess ear wax left behind before ending this step completely by wiping away any remaining residue until it looks visibly clean again.
5. Reward Your Cat
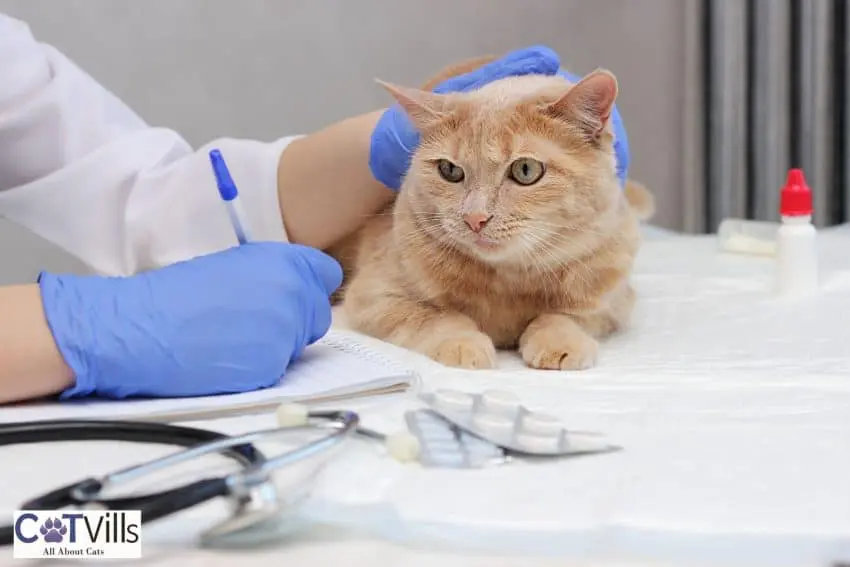
After completing these steps successfully reward yourself (and more importantly) reward your furry friend by giving them lots of love and affection after every successful grooming session.
This will ensure future sessions go even smoother than before because cats tend to remember what makes them feel good afterward.
Regularly cleaning their ears will help keep them healthy and happy, so it’s important to make sure you do it correctly!
With these steps, we’re confident that you’ll be able to give your furry friend the best care possible.
Tips For Maintaining Healthy Ear Care
Having a healthy and happy cat is one of the greatest joys in life.
As a responsible pet owner, it’s important to take care of your furry friend’s ears as part of their overall health.
Schedule Regular Ear Cleanings
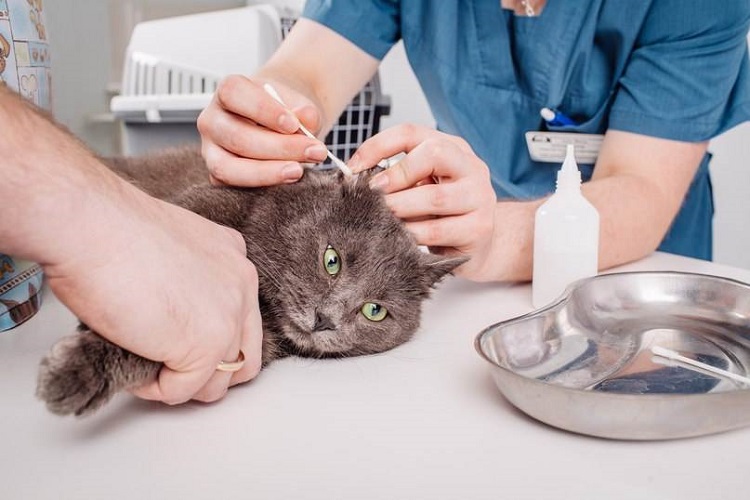
Schedule regular ear cleanings with your veterinarian or at-home groomer.
This will help ensure that any dirt, discharge, redness, or irritation is identified and treated early on before it becomes an issue.
Inspect Your Cat’s Ears Weekly
Inspect your cat’s ears weekly for any signs of infection such as excessive wax buildup, pus, crusting, etc., so you can address them quickly if necessary.
Cleanse The Outer Portion Of The Ear

Gently cleanse the outer portion of the ear with a cotton ball soaked in warm water or an over-the-counter cleanser made specifically for pets’ ears—never use Q tips!
Be sure to avoid getting too deep into the canal as this could cause injury to your kitty’s delicate inner ear structures and lead to further complications down the line.
Signs Of Infection
If you notice any signs of infection (e.g., excessive wax buildup, pus, crusting, ear mites), take your cat to see the vet right away as this could indicate a more serious problem requiring medication or other treatments from a professional veterinarian.
Following these simple steps will help keep your feline companion’s ears healthy and free from infections that can be painful and uncomfortable for them!
What If My Cat Has An Ear Injury Or Infection?
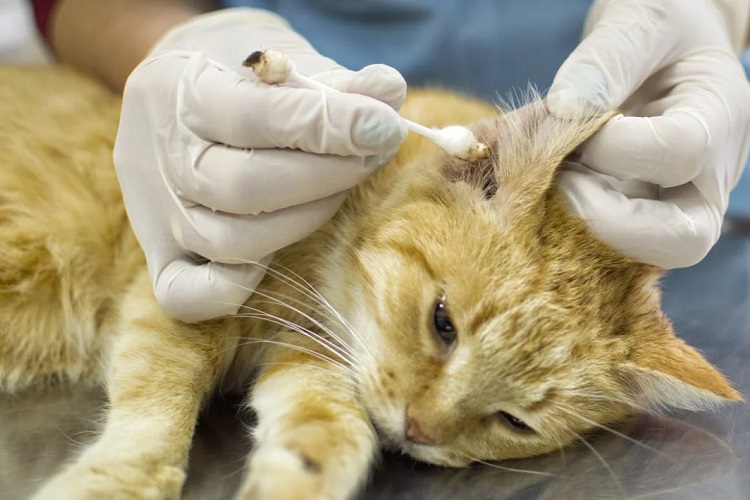
It is important to take them to the vet as soon as possible so that they can receive the proper treatment and care.
Symptoms of an ear infection or injury include redness, swelling, discharge, and odor coming from the ears. They can also have visible ear mites.
At the vet’s office, your cat will likely receive a physical examination to determine what type of treatment is necessary.
Depending on the severity of the issue, this could range from antibiotics to surgery.
Your veterinarian may also recommend ear cleanings at home in order to prevent further infections or injuries.
Wrap-Up
Learning how to clean a cat’s ears can be a daunting task, but with the right tools and knowledge, it doesn’t have to be.
By following the steps outlined above, you’ll be able to safely and effectively clean a cat’s ears in no time!
Remember that if your cat has any signs of infection or injury, take them to the vet immediately for further treatment.
With regular ear care, you can help ensure that your feline friend remains healthy and happy for years to come!
References:
