Last Updated: 8 months ago
If you own a Litter-Robot, you know how convenient and efficient it is to have a self-cleaning litter box for your cat.
However, even the smartest litter box needs some regular maintenance and cleaning to keep it in good shape and prevent odors and malfunctions.
In this article, we will show you how to clean Litter-Robot in a few easy steps and share some tips and tricks to make the process easier and faster.
You’ll soon know everything necessary to maintain and clean a Litter-Robot.
How To Clean Litter-Robot Thoroughly?
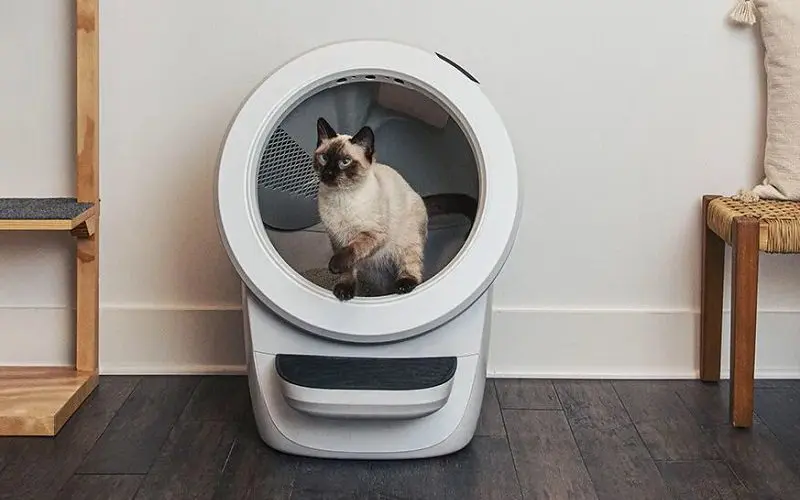
So deep cleaning a Litter-Robot, such as the Litter-Robot 3 Core, is more involved than people assume. There are many moving parts when ensuring this automatic litter box becomes clean.
After all, the Litter-Robot is a self-cleaning litter box “that uses a rotating globe to sift and separate
clumps from the clean cat litter.” It’s a complex machine.
But there’s no need to worry. we’ve got you covered with this 8-step guide that’ll keep everything straightforward and effortless.
Step 1: Locate And Press The Litter-Robot’s Empty Button
Your first step will be locating and pressing the “empty” button on the Litter-Robot. Once pressed, it’ll cause all the litter to be released from the globe into this device’s waste bin.
It’ll also allow users to remove the globe from the device’s base for better cleaning. This placement helps keep things a lot more organized for future steps.
Here’s a video to learn about how to locate and work each button on your Litter-Robot 3. It’ll do wonders for anyone who finds themselves a little confused by their Litter-Robot.
Step 2: Remove The Bonnet
The manufacturer upgraded Litter-Robots with a bonnet on their newer models. You’ll notice these components wrapping around the globe.
If you see a bonnet, it needs removal before we can do our next steps. Users will have to press the release buttons on both sides of the bonnet, lift, and rotate.
The entire process is depicted in this video. It should help any cat owner who feels a little overwhelmed by the bonnet-removing process.
Proceed to remove it from the globe and set it somewhere safe nearby.
Step 3: Deal With Any Excess Litter
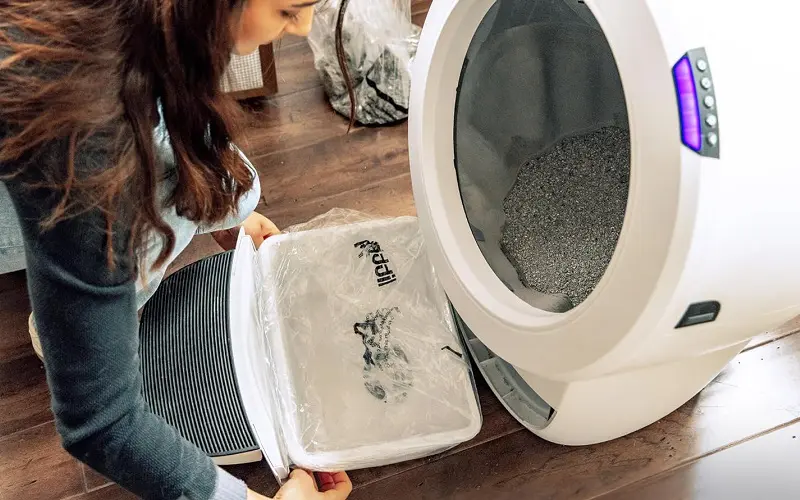
This automatic litter box might have some excess litter within it. If it does, use something to brush it out/away, or there could be difficulties when doing future cleaning.
After all, every cat owner knows what a nightmare wet litter can be to clean. It’ll end up turning into a messy clay clump that’s a nuisance to remove.
Step 4: Wash The Litter-Robot’s Globe
One major benefit to the Litter-Robot’s globe is its lack of electrical components. Therefore, it becomes easier to clean as you can get the globe wet.
We’d recommend using mild soap and a wet rag to clean the globe effectively. Submerging the globe in soapy water can also work if you think it’s necessary.
But please don’t submerge the base in water. The base piece of this automatic litter box features electronic components, which don’t mix with water at all.
It’ll only lead to them becoming destroyed or ineffective.
Step 5: Let The Globe Dry
Don’t return the globe to the base too quickly, given its electronic components.
You’ll want the globe completely dry to avoid putting the base in water.
So make sure to wipe the globe down with a dry paper towel to remove any excess moisture.
From there, let it air dry a bit before returning to the base.
Step 6: Empty And Wipe Down The Waste Drawer
Within its design, each Litter-Robot will have a waste drawer. It’ll be located in the base’s bottom position as the noticeable large drawer.
You’ll want to open the drawer and remove its trash bag. From there, it’s a simple matter of throwing it away.
Next, you’ll need to wipe down the waste drawer. But make sure to separate it entirely from the base component of this automatic litter box.
After separating, wipe the drawer down with water and soap. Then, dry it off with a separate clean rag or towel.
Step 7: Place A New Trash Bag Into The Waste Drawer
Since the waste drawer’s now clean, it’s okay to reinstall a trash bag in it.
Open your chosen brand of 10-gallon trash bag and wrap it around the waste drawer’s sides.
You’ll notice four or five rubber pieces on the waste drawer, which are liftable. Slide your trash bag underneath them to secure it into the Litter-Robot’s waste drawer.
We should also note that it doesn’t have to be a 10-gallon bag. However, 8-gallon or 13-gallon options will fit the Litter-Robots.
Step 8: Clean The Base’s Exterior
Your last step is cleaning the base’s exterior with a wet rag. Make sure to use this rag and soap to clean it thoroughly without any missed portions.
But remember, don’t clean the interior of this base portion. It’ll only mess up the internal electronic components, which isn’t what anyone wants.
The Litter-Robot should now be more than clean enough for your cat’s bathroom visits. We’ll dive into how often this process needs to be done in our next section.
Other Things To Consider
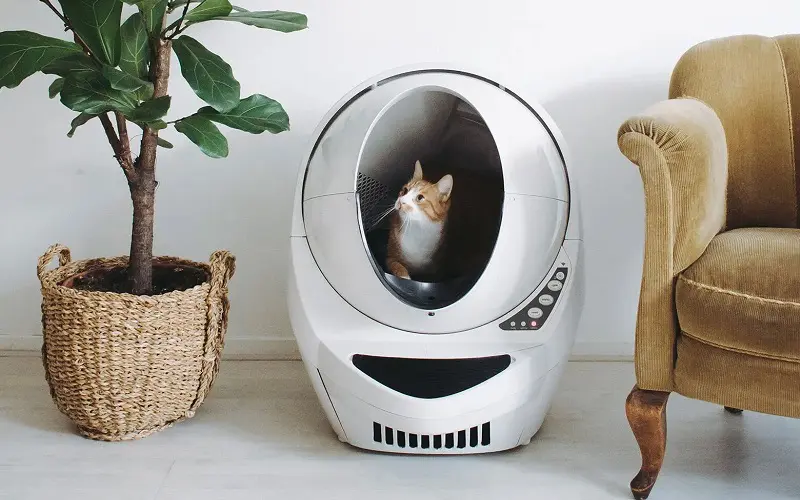
Emptying The Waste Drawer When Necessary
Infrared sensors and emitters combine with the Litter-Robot’s waste drawer. Both of these components work together to detect the drawer’s waste level.
Once it detects that the drawer needs to be empty, a blue light on its control panel will flash. You should expect this flashing light to appear at least once per week (for a single cat).
Changing the drawer’s trash bag isn’t difficult, either. As we mentioned earlier, it’s a matter of pulling out the drawer, unhooking the bag edges, and disposing of the waste and dirty litter.
You then install a new trash bag by rolling the edges a couple of times and pushing them into the tabs. Honestly, anyone can do it with minimal effort.
As a result, don’t let a full waste drawer linger. It’ll only make the entire room more smelly as the days keep passing by.
Instead, keep a constant eye out for the blue flashing light. It makes everyone’s life inside the house much easier and less odorous.
Adding Fresh Litter When Needed
Every time a person empties the waste drawer, make sure to check the globe’s litter levels. If there isn’t enough, fill it up until it meets the “raised fill line” on the black rubber globe liner.
But don’t go any further than the fill line. Overfilling the globe can lead to a host of issues, such as litter tracking and a harder cleaning process.
Once the globe’s filled to the proper level, don’t forget to press the Reset button. The device will then go back to functioning correctly.
If you’re having any other issues with the Litter-Robot, check out our troubleshooting guide.
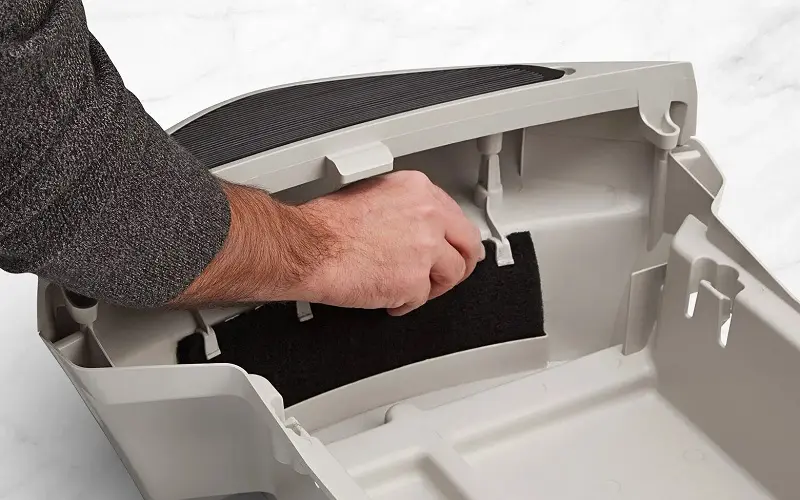
Replace The Seal Strips And Carbon Filter
One of the most effective ways to get rid of smells is to trap them in the waste drawer. In other words, replace carbon filters and seal strips with new ones.
The frequency of replacement filters will depend on you and the number of cats. However, a good rule of thumb is that a replacement will be beneficial whenever the waste drawer starts smelling.
Replacing the carbon filters themselves is usually rather straightforward. But anyone who does find themselves having trouble with it should check out this helpful video.
As for the seal strips, only replace these parts when they’re peeling/worn flat or if you’re convinced excess odor is escaping from the Litter-Robot’s base.
How Many Cats Can Use The Litter-Robot?
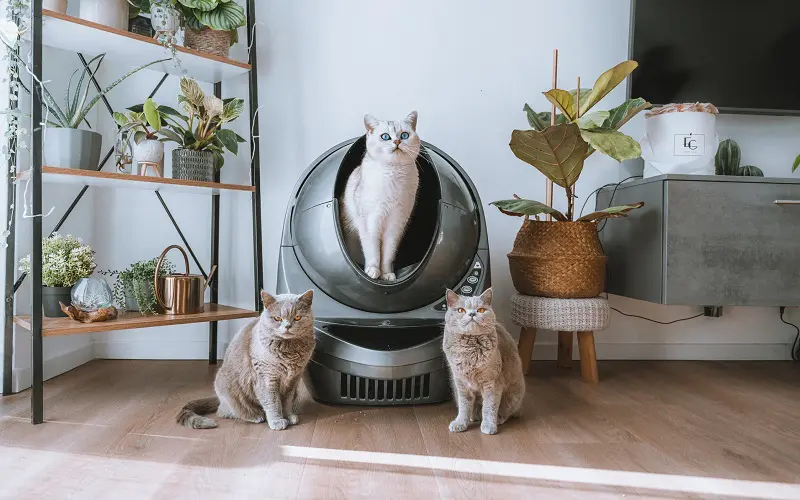
The Litter-Robot can accommodate “four indoor cats per single Litter-Robot unit.” In some cases, you can even use it for more than four cats based on the cats’ bathroom needs.
But we’d still recommend keeping the maximum at four per single Litter-Robot unit. Empty the waste drawer more and more for each additional cat.
So if we had one cat, I’d probably be fine with emptying the drawer once a week. But if a second cat arrives, this frequency would move to twice per week.
It only becomes more frequent as the number of cats increases. Owners will need to account for this issue before deciding how many of these self-cleaning litter boxes are necessary.
Tips For Washing The Litter-Robot
We recommend doing a deep cleaning of the Litter-Robot every 30 days. Honestly, doing our 8-step process each month could do wonders for creating a much better bathroom area for your cat.
Furthermore, washing the unit will help prevent long-term exposure of the globe’s bottom rubber liner to urine residue. If left unchecked, it could cause the liner to deteriorate over time.
You also don’t want the pungent odor of cat urine to adhere to the rubber. If you let months go by without proper cleaning, this odor will never disappear.
It’ll end up making your life miserable, as cat urine odor will waft through the house. This experience isn’t what anyone envisions when buying a Litter-Robot.
Another thing to consider is the sealed waste drawer that holds the urine clumps. Unfortunately, this drawer has held cat waste for weeks, so the plastic comes into contact with the urine clumps.
Due to this, cleaning the waste drawer and disinfecting it become necessary. So please, do it every month to avoid any issues or nastiness.
FAQS
Does The Litter-Robot Require Special Litter?
The Litter-Robot doesn’t require a special type of litter. In fact, it can work with any standard clay-clumping litter. But don’t ever use non-clumping, absorbent wood pellets or newspaper-based litters.
Does The Litter-Robot Require Special Garbage Bags?
No, the Litter-Robot doesn’t need any special liners or bags for its waste drawer. Your only guideline is that it needs to fit, so you can use it without issue.
Why Is My Litter-Robot Dumping Clean Litter?
Your Litter-Robot is dumping clean litter because there’s too much litter around the globe. Remember, the fill line of the globe’s black rubber liner indicates the correct level.
How Do I Get Rid Of Litter-Robot Smell?
Keeping your Litter-Robot from becoming stinky is more important than cleaning it. You’ll also need to stay on top of a couple of things to avoid it becoming an issue. But if you keep up with these three activities, we don’t see why that horrid litter box smell would present itself. So let’s take a look at them to make sure it never happens.
Conclusion
After reading our article, we hope these discussions have answered all your questions about deep cleaning the Litter-Robot. But if you have a few more, don’t hesitate to ask in our comment section.
We’ll make sure to answer each post as soon as possible. You can even let me know whether or not the Litter-Robot has met your expectations.
Thanks for reading!
